Only a few generations ago, socks were routinely darned, sweaters mended and pants patched. I feel like it is time to get back to our old ways and mend the world, not trash it.
Sashiko, the Japanese form of decorative reinforced stitching invented in the early 17th century, is as popular as ever. While visible mending dates back to the Edo period of the history of Japan, there are more and more makers incorporating the hand-stitching technique into their wardrobes, which means less clothing making their way to the landfill! In Japanese, sashiko translates to “little stabs” referring to the running stitches that appeared on the clothing of Japanese working people. These stitches held layers of indigo-dyed hemp or linen fabrics together. In a time when clothing was a costly commodity for the working class, this helped to elongate the life of clothing, create warmth for the wearer and allowed working class folks to don decorative clothing within the confines of the law (the working class was prohibited from wearing expensive, vibrant fabrics such as silk).
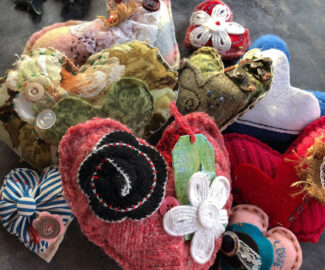
Currently, visible mending can take on many forms outside of the traditional geometric Japanese motifs. It can be used as merely decorative or serve a more functional purpose. It can also be used as both. Instead of tossing out a favorite top because coffee was spilled on it or giving up on a pair of pants because the knees are exposed, take the time to mend them. This not only saves money by cutting down on your clothing budget, but also helps to keep unnecessary items out of the landfill.
There are tons of videos out there, but here are some tips for those that might want to give it a try:
1. Stabilize the fabric.
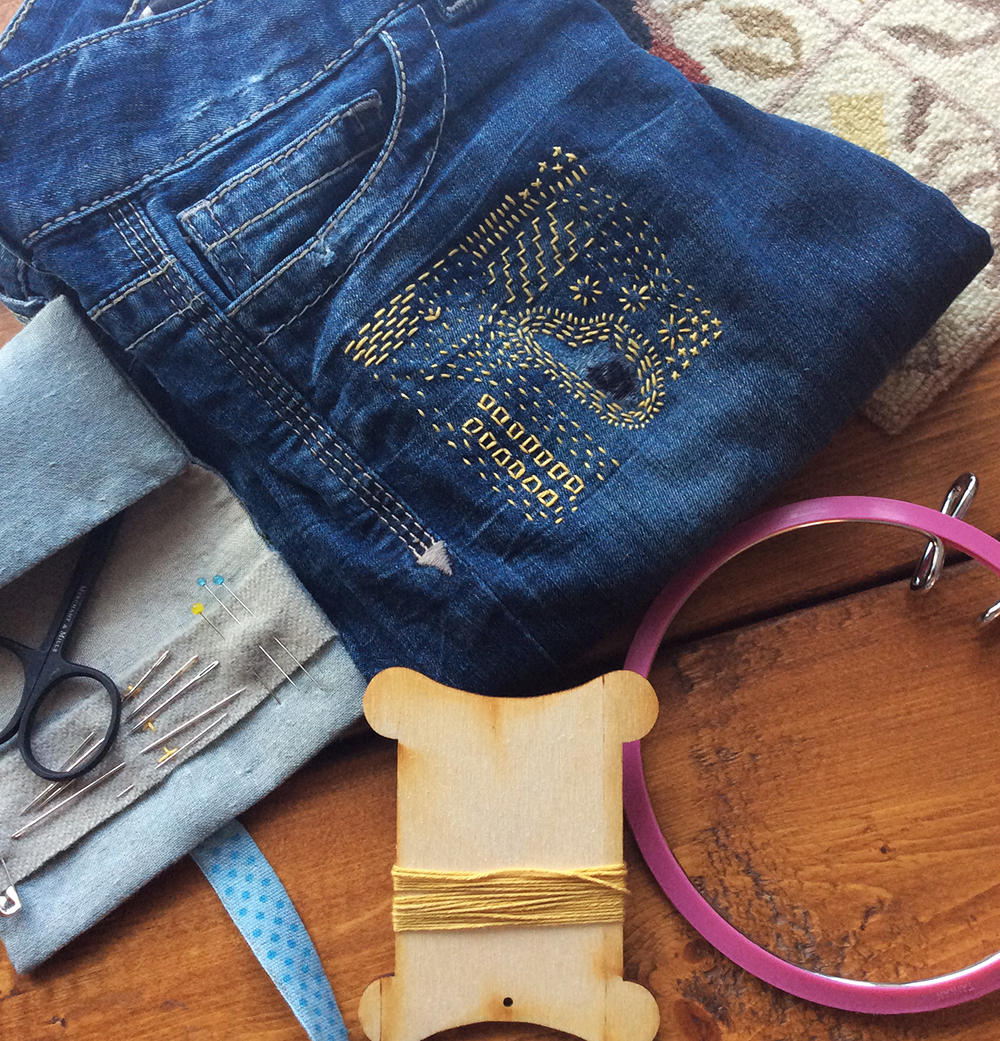
Prevent puckering by holding the fabric reasonably taut and clear of folds. An embroidery hoop is perfect. If you can’t find one to accommodate your piece, try tear-away, heat-away, or wash-away stabilizer.
2. It’s all about condition and location.
A simple, small rip in otherwise new fabric will hold up well once mended. If, however, you’ve worn through an area, you are likely to wear through it again. The surrounding fabric may also be too weak to hold the repair. Don’t forget a patch in a similar fabric and try to anchor your new stitches far enough away from the hole or weak spot so that they have something to hold onto.
3. No loose ends.
Long floats or unsecured patches can catch and rip, leaving the piece worse than when you started. Be sure to stitch down or trim away any extra fabric on both sides of the piece.
4. Keep it short.
Small stitches are more secure than long, loose ones. When threading the needle, resist the urge to pull off a long piece of yarn so you won’t have to knot and rethread as often; anything longer than one arm’s length will get tangled (and won’t save time anyway).
5. Plan ahead.
It can be difficult to stitch the design of your dreams freehand, but you can help yourself out. Use a wash-away marker to sketch the design before you begin stitching. There are also tons of stencils out there you can use for inspiration.
6. Help your yarn/thread slide on through.
Even worsted-spun yarns can be abraded by stitching. There are products out there to condition and lubricate your yarn or thread or you could just beeswax.
7. What about washing?
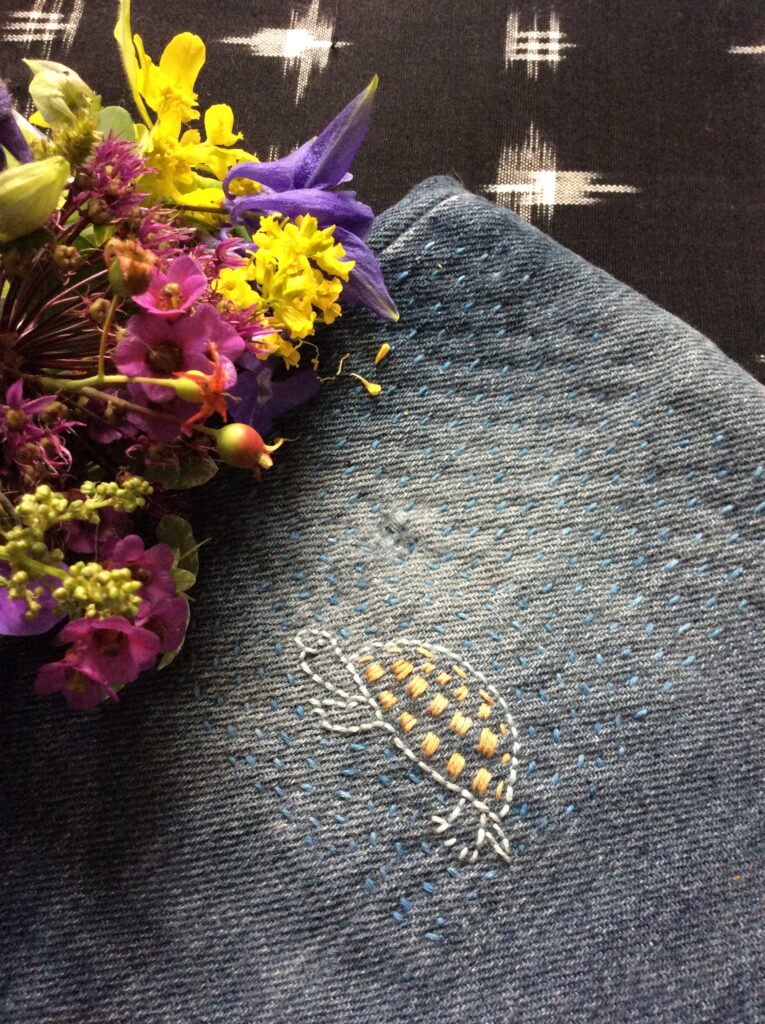
Consider the combination of the fabric to repair, the yarn, and the washing method. To mend denim, which will probably make many trips through the washing machine, almost anything goes. Nonfelting fibers will retain their shape.
*Pro tip: When mending legs of pants or arms of shirts, you can insert a piece of cardboard or coaster into the pant leg or sleeve under where you are stitching to help you from accidentally sewing the leg or sleeve together!
So, next time you have a piece of clothing you are thinking of throwing out, why not try some visible mending to keep it from the landfill and save yourself some money from having to replace it!