It’s the time for organizing Easter egg hunts, decorating eggs and eating chocolate. Another typical tradition is gathering your loved ones and making art & crafts with your children (or friends) to kick-start the spring season!
If you’re looking for a constructive way to clean out your fabric stash, this bunny sachet is the project for you. There are many ingredients that you could use to fill your bunnies for various purposes. Besides using this bunny sachet pattern as a little stuffy, you can fill it with different ingredients and turn it into a personal amenity, for example:
- Dried Chamomile & Lavender flowers: Sleep Pillow Sachet
- Rice/Wheat/Herbs: Heat bag (To be heated up in a microwave)
- Activated carbon/charcoal: Shoe Freshener
I will be filling mine with some eco-stuffing and a bit of lavender so my girls can put them in their sock drawers or something like that.
SUPPLIES
- Fabric scraps (Approximately 8 1/2″ x 6”)
- Sachet filling ingredient – stuffing, activated charcoal, rice, lavender, etc.
- Embroidery floss
- Sewing machine or Needle and thread
- Printer & letter size paper
- Pencil or fabric marker
- Blunt point tweezers
- Iron
INSTRUCTIONS
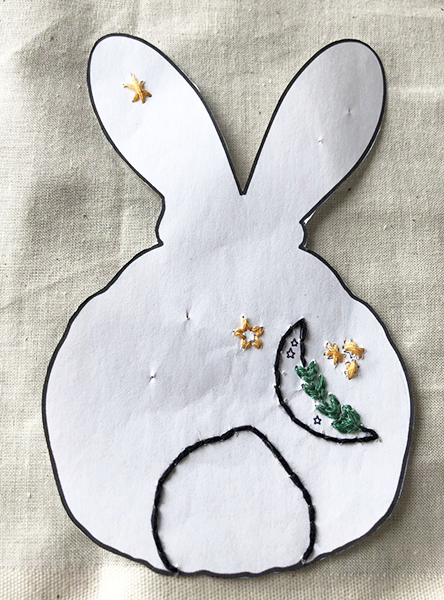
- Download the bunny sewing pattern in pdf format. Please print it out onto Letter size paper. Don’t scale the printing if you wish to have a full-size pattern.
2. 
3.
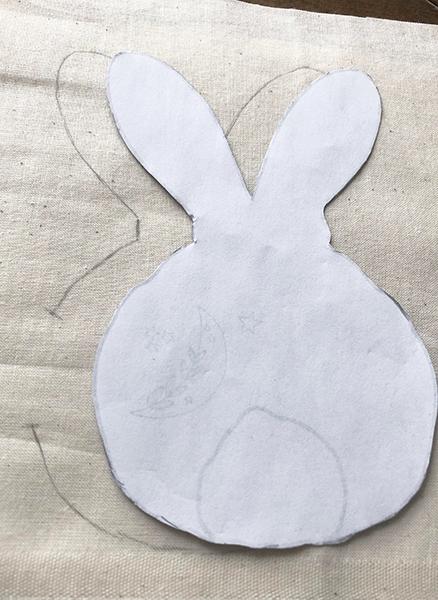
2. Cut the paper pattern of your choice and turn the pattern facing down onto the wrong side of your chosen fabric (to the left) and trace around. Mark a minimum of 1″ opening on the side seam.
3. Pin the pattern facing up on the right side of your fabric trying to line it up with the pattern you traced on the back. (It might be helpful to use a window to see through the fabric.)
4. 
5.
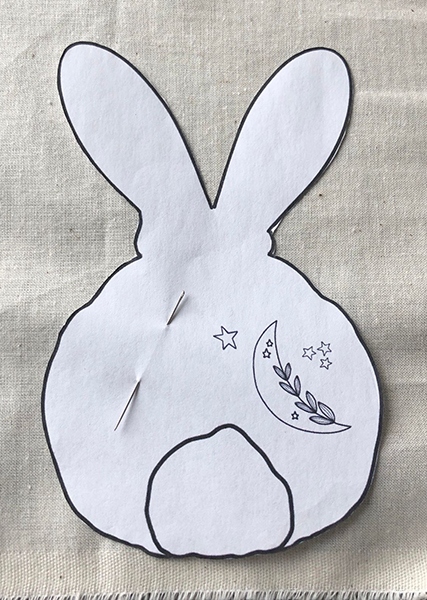
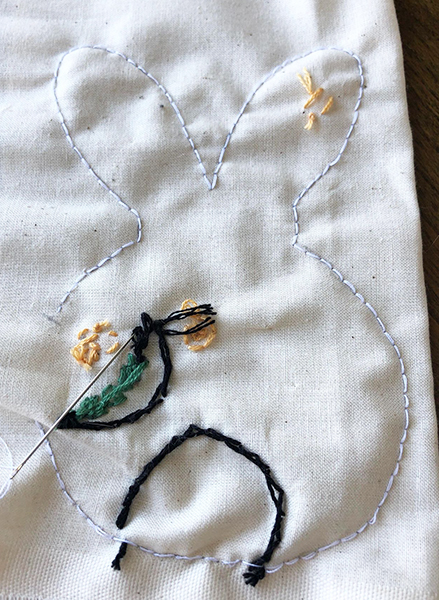
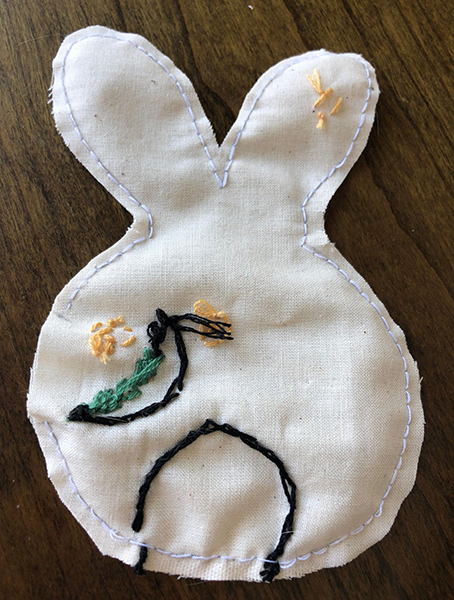
4. Embroider the pattern right through the paper. When finished, gently rip the paper pattern away (while holding down your stitches).
5. Fold your fabric in half with the right sides facing each other. Start from one of the opening markings, sew along the sewing line, and end at another opening marking.
6. 
10.
6. Trim the seam allowance to 1/8″ the large bunny. Clip and notch at the curves on the seam.
7. Insert the blunt tweezers from the opening and grab one of the ears. Pull the ear out through the opening.
8. Repeat the same to the other ear. Use the tweezers to adjust the seam and smooth the curvature.
9. Turn the face and smooth all the curvatures. You can press with a warm iron to smooth crumples if you wish.
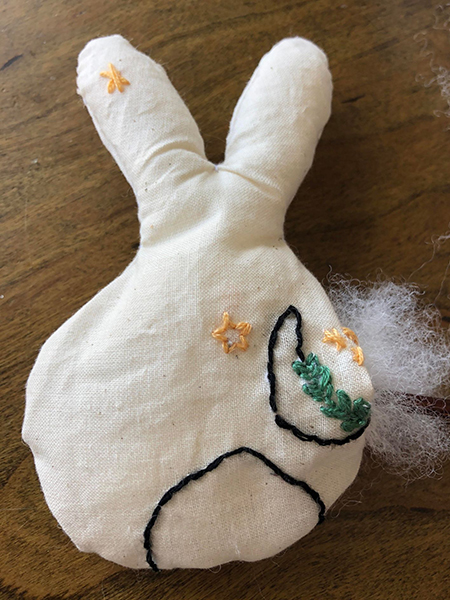
10. Fill the bunny with your chosen filling ingredient. I like to use a little stick to get to stuffing into the ears. You can roll a piece of paper into a cone, cut at the sharp point to make a funnel for things like rice and lavender.
11. Close the opening by sewing with a slip or ladder stitch.
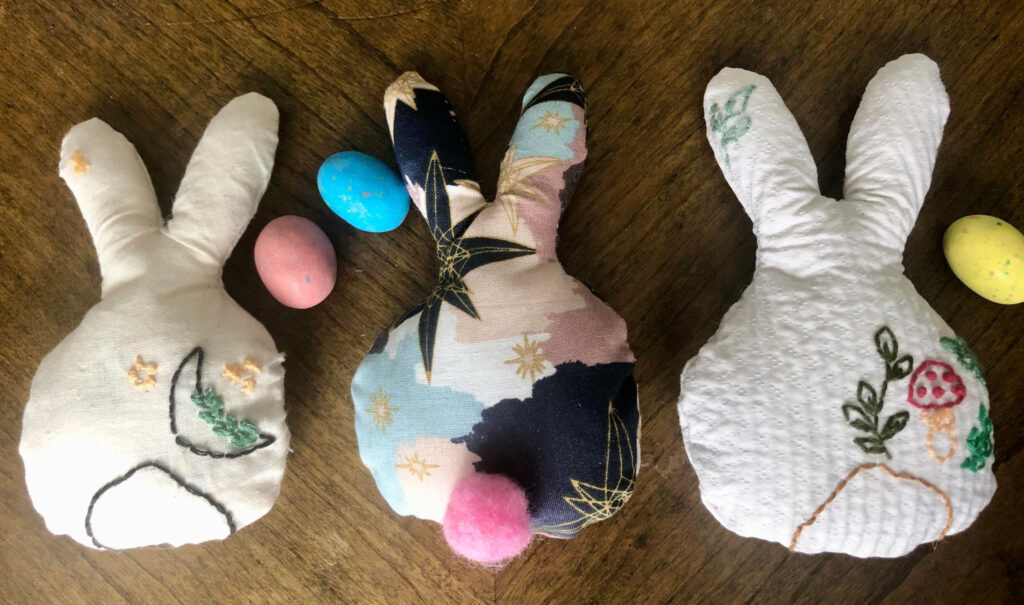
You can of course free hand your embroidery pattern as well or don’t do any embroidery at all. I made one using a patterned fabric and a pompom for a tail. Just use your creativity and have fun! Happy Easter!!